Tiled hot tub DIY roof project, fantastic testimonial by Mr Bell of the Forest of Dean. He and his wife used our granulated grey tiles to refresh their tub house roof. Here is what they had to say about their experience from start to finish.
From this....

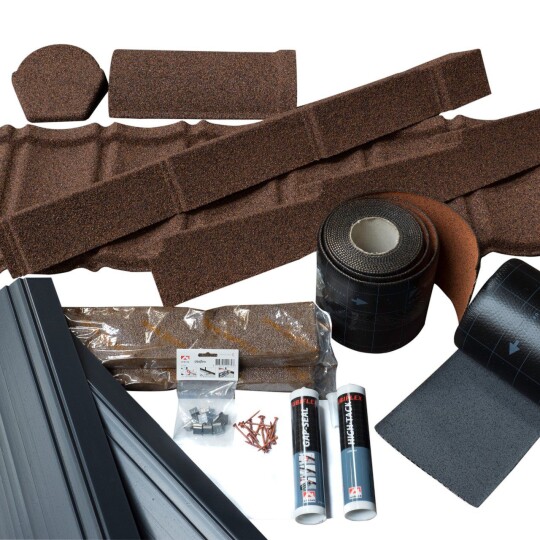
Tiled hot tub DIY roof project

Tiled hot tub DIY roof project
We reckon in matters of home maintenance that if we can do something, then we will. If things go awry we can always call professionals to help us out. Having said this, we have never found the need to call.
So, regarding the tub house roof. It looked shabby in its old bitumen shingles and was leaking rain more and more.
Our first reaction was to replace the existing bitumen. We were less than enthusiastic as we feared the results would not look “sharp”. This, linked with a doubt that the shingles would be within our ability to lay well, meant we kept finding reasons not to begin the project.
The good weather arrived and we realised that it just had to be done...now.
I began researching bitumen products, looking to get the best price. It was only during this process that I began seeing references to light weight tiling solutions.
Google to the rescue, and having thought I knew as much as I needed to about shingles, I began researching light weight tiles.
I found a number of suppliers. Most were larger companies or only sold their product via third parties. I tried asking my questions and failed to get good answers, the companies being used to dealing only with roofing professionals. I then discovered lwt in Lydney Harbour and saw that they were local to us.
We are always keen to deal with local, smaller companies so this sort of fit our needs.
We called them and were delighted to find that not only would they answer our telephoned questions, knowledgeably and patiently and in terms we could understand, but they were willing for us to visit them to see, touch, and choose.
The following day we drove to their factory. Our questions were answered. Guidance was given. A price was agreed, however we were encouraged to “go home and decide”.
The very opposite of the Hard Sell.
This was Wednesday.
- The project time scale then was:
Thursday
- we called and placed our order.
- we ordered the wooden roof battens we required, which were delivered the same day.
Friday
- the battens were in place.
- the tiles were delivered.
Saturday
- by lunchtime - this during the height of the July heatwave, all work stopped by one o’clock, half of the roof was tiled.
Sunday
- the second half of the roof was tiled.
Monday
- the ridge was completed along with the edge tiles.
Tuesday
- the lead substitute was in place.
The project was complete.
Wednesday
- our excess tiles etc were taken back to the factory for a refund.
Then, it was a small matter of waiting for rain to prove that all the effort was worthwhile. Two weeks later, it rained very very hard. Dry as a bone! And, it looks great.
My wife and I are in our late sixties. I was “climbing on the roof bloke”, she was “hole driller and passing things up woman”.
Tools used - One battery drill, one electric drill, one 2 metre spirit level, string line, one Bosch “chop saw” to cut the tiles- we found that this gave us much straighter edges than either a jigsaw or a hack saw. We also cut wooden “ blanks “ to ensure that our batten spacing was spot on . We did cut these - after a bit of trial and error - a couple of mm more than the help sheet suggested. Also, when laying the tiles we always used a right over left approach.
We are chuffed to bits. Not only does the roof work, it looks great and - we can say that “ we did that”.
My wife is now looking critically at the roof on the garden shed. I would be surprised if we do not find ourselves back at Lydney Harbour very soon!
Oh, and everyone we spoke at at lwt was really helpful and charming !
We hope this helps.
D&T